Without a doubt, the most important type of training a shooter can engage in is dry fire practice. I have had students who started training with relatively little experience. However, they diligently practiced with dry fire sessions in between lessons. The students became exponentially better in a short period of time.
Consider today’s high cost of ammunition and gas. Dry fire practice can cut down on spending while increasing skills — there is no downside. In this column, I will only address handguns, but long-gun shooters can also benefit from similar exercises. It goes without saying, but I will say it anyway: Dry fire training involves working with unloaded firearms in a location where there is no live ammunition. As with all things related to firearms, safety should be paramount.

Getting Started
Start by ensuring your firearm and magazines (if using a pistol) are unloaded and safe. It is best when all ammunition secured in a different room. Even though we are “dry firing” continue to apply the “Treat all guns as if they were loaded” principal. In doing so, ensure you have a safe backstop. Remember, bullets go through walls, floors, and ceilings, so chose your location accordingly and always, point your firearm in a safe direction.
Dry fire training for the new shooter is the perfect way to develop and maintain your comfort level, skills handling, and using your firearms. It also provides an inexpensive way to focus and work on your weakest skills without the distractions of live fire at the range. With that said, here are some of the areas to focus on with your dry fire practice.
- Grip
- Trigger press
- Natural point of aim
- Firearms presentation
- Follow through
- Reholstering
- Reloading
- Clearance drills
It is also advisable that you use dummy rounds or snap caps. They are a great accessory and can save wear and tear on your firearms. Likewise, they may provide a visual indication that the firearm is unloaded.
The number one excuse I hear as to why people don’t get the training/practice they need is, “I don’t have time.” Well that one don’t hold water when it comes to dry fire at home. You can do it almost anywhere and at any time. I personally like to practice in front of a mirror, so I can self-diagnose what I am doing. All it requires to show improvement are focused sessions of 3–5 minutes, 3–4 times a week, and you too can be Todd Jarrett… Yeah, right!

There are plenty of tools you can buy to help you improve your dry fire training. To be honest though, you don’t need much. All you need is time, a space, your firearm, holster, dummy rounds, and magazines.
Focused Training
One of the most important things to work on during your dry fire practice session is trigger control. Remember the trigger should be gently squeezed or pressed — not jerked or pulled. Gentle pressure is applied only when the correct sight picture is achieved. Breathing must be regulated, and the breath held as pressure is applied to the trigger.
When the sights drift off target, pressure pauses until the correct alignment is once again established. Then, pressure is once again applied. When an additional breath is needed, the application of force to the trigger is suspended until the breath is held once again. The “break” of the trigger should come as a surprise.
Follow through is also important. Follow through is the act of maintaining the sight picture and concentration during and immediately after the gun fires. Remember, only perfect practice makes perfect.
You should spend as much time as possible getting to know all the delicacies of your firearm’s trigger. Your focus is to build the mental imagery, which is important to obtaining a good sight picture. Reenforce this with self-talk, a verbal ongoing review of the fundamentals as you execute them. Repeat the mantra, “Sight alignment, sight picture, trigger control, breath, follow through.”
Remember to stay relaxed and calm, while maintaining maximum focus. Self-perception determines what you become. I was taught by my mentor to put a coin on the barrel of the handgun when dry firing and to press the trigger without allowing the coin to slip off the barrel. I used a dime, but any small coin should do. The exercise also helps maintain follow through.

Breathing
Proper breathing during the trigger squeeze is very important, so start becoming aware of proper breathing. You have been breathing your entire life and no one had to tell you how to do it, so you think you know how. When shooting however, proper breathing is a little different.
New shooters put the pistol up to the target and notice the sights are moving as they breathe. Common sense then tells the new shooter to hold their breath to stop the movement. That becomes the extent of his or her knowledge, so they try to hold their breath for the full string of fire. After turning blue, the shooter finds that doesn’t work either. So, they hold their breath for two or three shots and then takes a quick breath between shots — not a good way to learn.
When you breathe, you take in oxygen and let out carbon dioxide. This process clears your mind and your vision. When you are ready to make a shot, take in a full breath and let it out, then take in another full breath and let it out to your normal respiratory pause, holding your breath as you squeeze off the shot. You are trying to get the same lung pressure every time. You must be consistent. The amount of time you hold your breath should be no more than 5 seconds. (See illustration).

When you put the firearm on the target and take aim, from the point you hold your breath your unsteadiness will be about 3–4 seconds (provided you have a good position and preform all the other techniques correctly). The firearm will settle for a period of about 4–5 seconds. With the proper sight alignment and trigger control, that is the period during which the shot should break.
Any time after that, the unsteadiness will return, and it will not settle again. You must have the courage to start the process over. Failure to do so will result in blurred vision, loss of mental concentration, and a tendency to slap the trigger.
During a sustained fire string, breathe between each shot. Take in a full breath and let it out, then take in a full breath and let it out just to your respiratory pause, before holding or cutting off the breath, maintaining the same lung pressure each time. Breathing is done as you are recovering from the last shot and picking up your sight alignment. Do not try to hold your breath for the entire string or for more than one shot. The result of improper breathing, particularly failing to have consistent lung pressure, is shown in the illustration.
Point of Aim
Using your body’s natural point of aim means you do not tense up for a shot. Relax and let your position take over. You will get far greater accuracy if this is done correctly so let me try explaining what I mean. Correct position and the natural point of aim is a subject that is often only briefly mentioned — if at all — outside of precision rifle shooting.
Of course, you are told how important it is to establish your natural point of aim, but you are not told:
- What is natural point of aim
- How to check your natural point of aim
- How to establish your natural point of aim for each position
- How to maintain natural point of aim
- What happens when your natural point of aim is slightly off
Natural point of aim is so important, it must be taught twice: once in a position class and again in an aiming class. After that, it must be reinforced. To help get a picture of the natural point of aim, imagine a spring. If you compress it, stretch it (a little), bend it to the right or left, up or down, you use a small amount of force. When you release the force, the spring will return to its natural state or position of rest.
Your muscles are pretty much the same. Make a tight fist, the muscles in your forearm will be tight. Your muscles need to remain tight to keep the tight fist. If your mind wanders or you concentrate on something else (sight alignment and trigger control), your muscles want to relax and return to their natural state or rest position, maintaining a natural point of aim prevents us from fighting our body’s natural alignment and aids in greater, faster accuracy.

To find one’s natural point of aim, stand in front of a mirror and with your eyes closed bring the firearm up as if sighting. Then, open your eyes and see if you are aligned on your reflection accurately. If not, move your feet to make corrections (not your torso), so the spring stays relaxed. I am sure that you can figure out how to practice the other items of your session such as follow-through, firearms presentation, reholstering, reloading, clearance drills, etc.
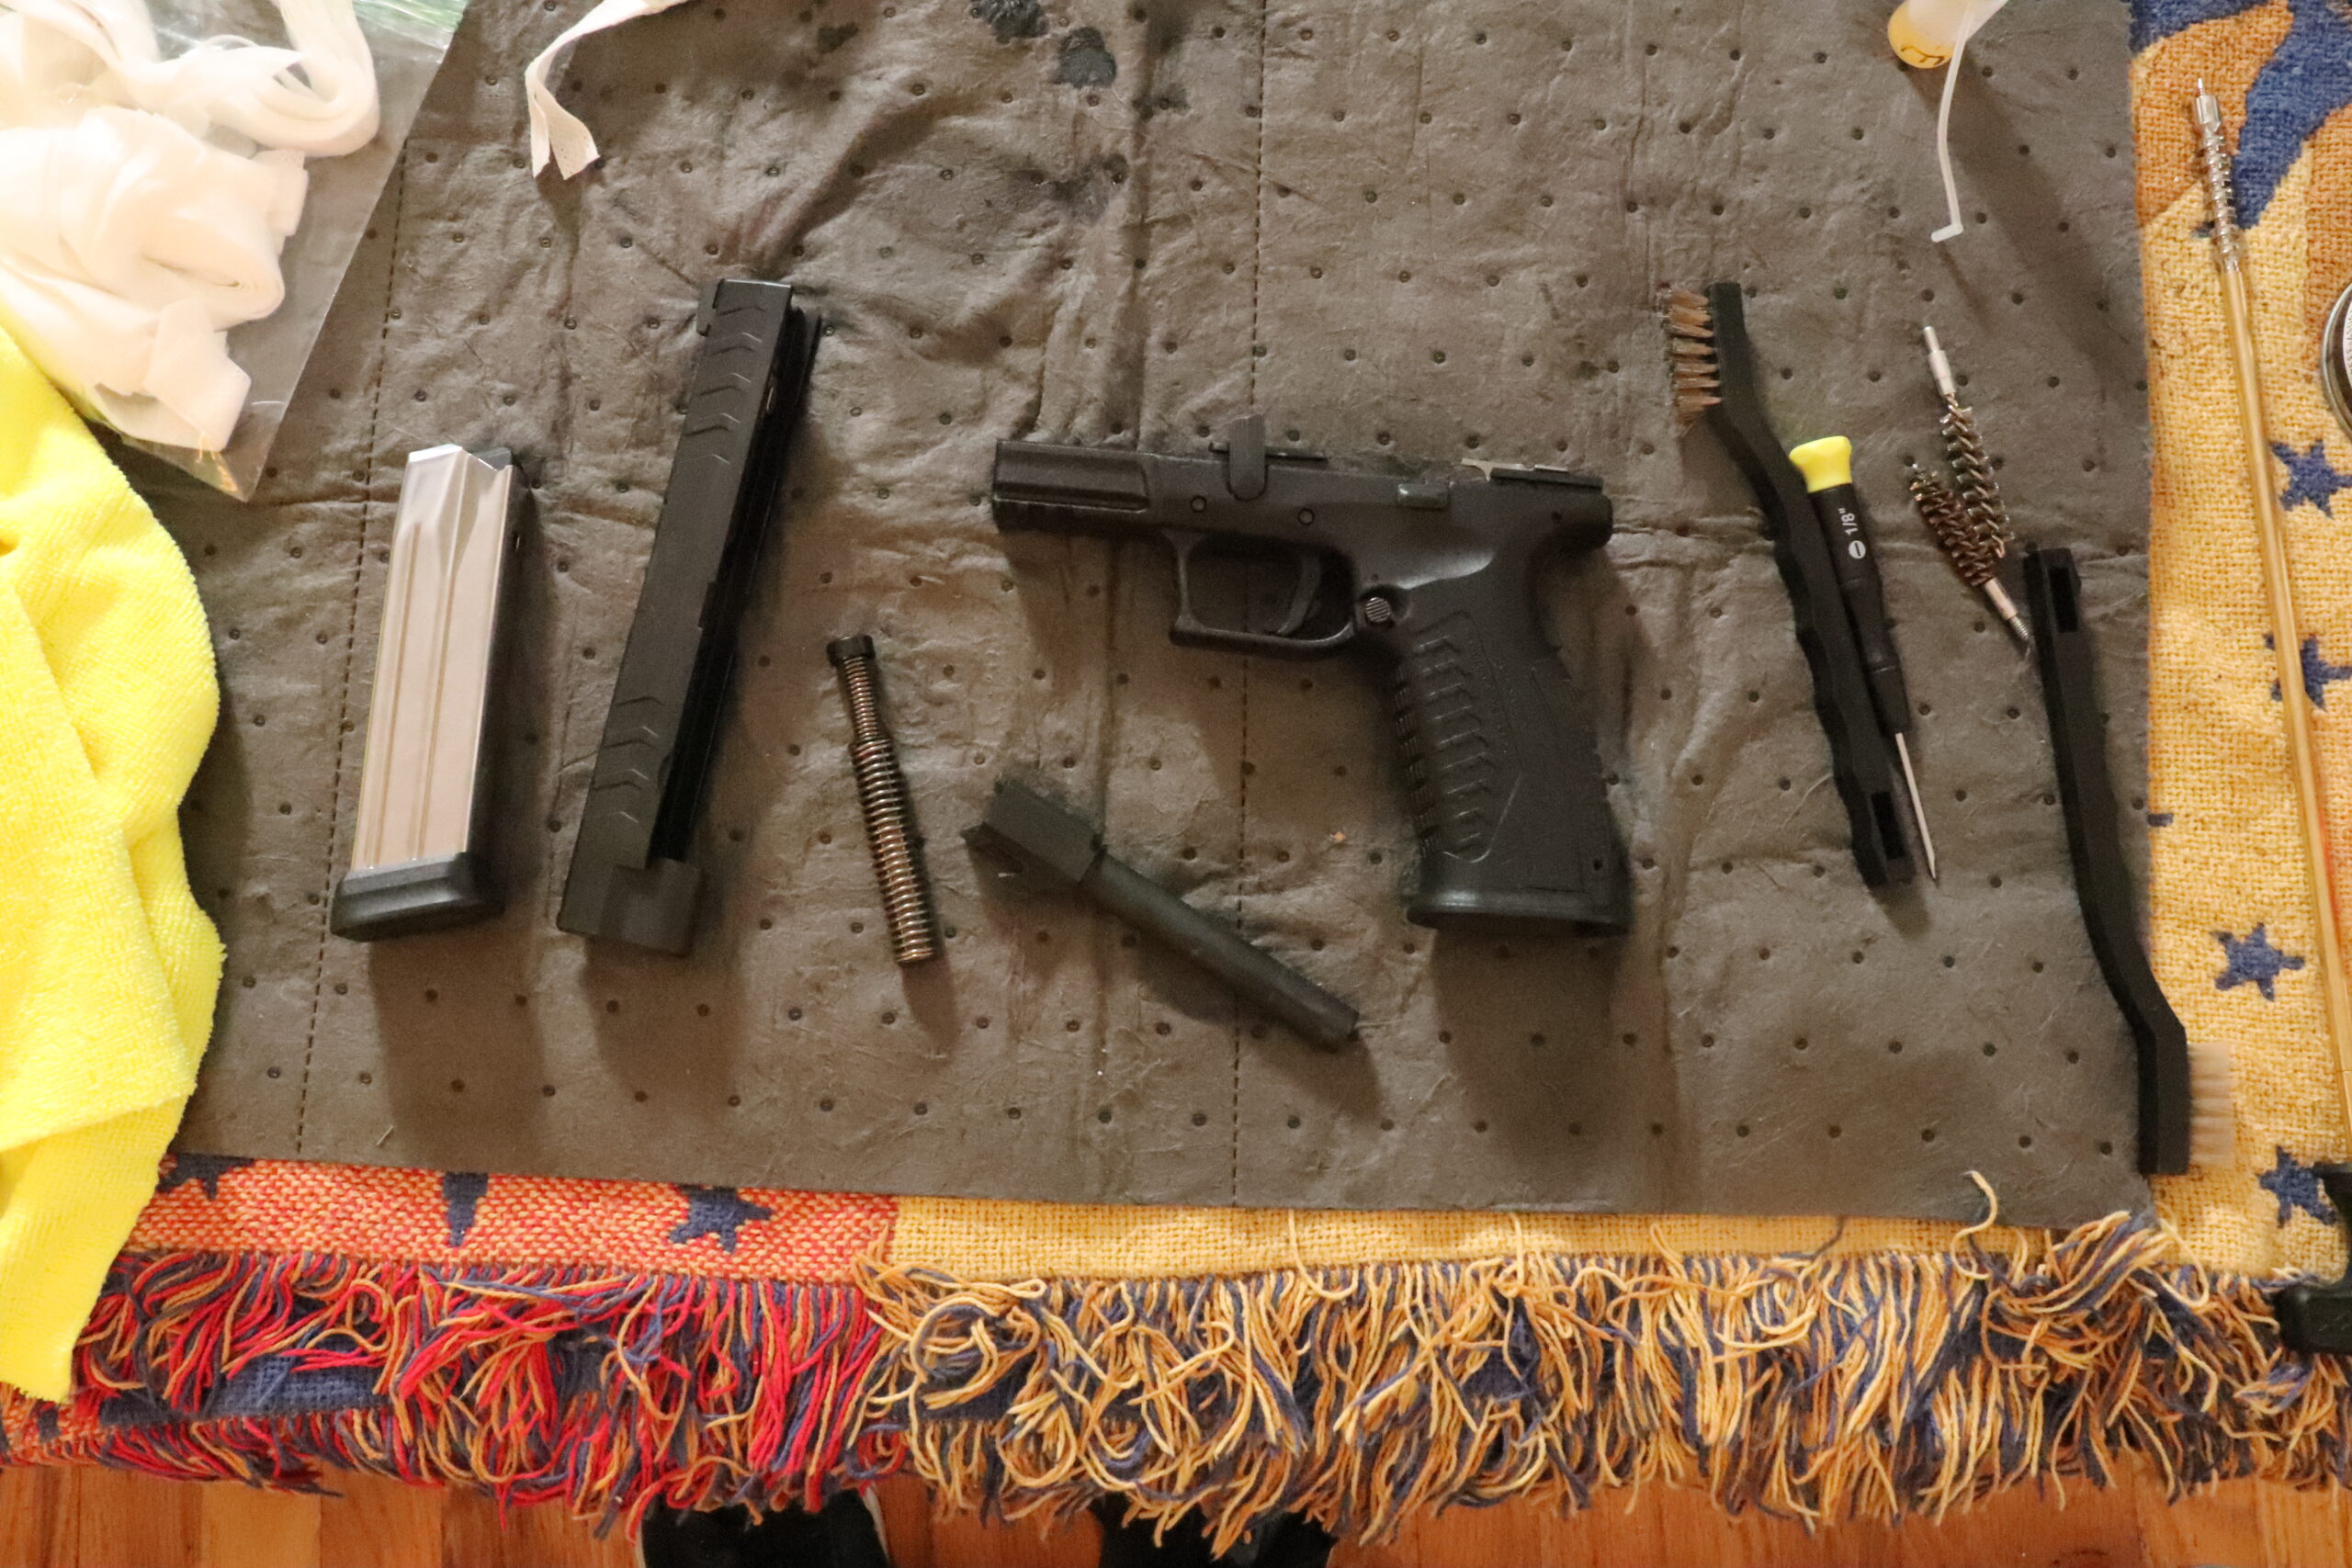
Spend as much time as you can getting acquainted with your new best friend. You should understand its operation and the functions of its major parts. You should also be able to fieldstrip your firearm for maintenance. Numerous dry fire sessions should be used to reinforce the basics and to develop the learned response to the point that it is automatic.
Stay safe, train often and practice, practice, practice!
How often do practice with dry fire? Do you find it to be advantageous? Do you have a dry fire practice tip? Share your answers in the Comment section.