Pickling beets is a delicious way to preserve your harvest. Learn how to make pickled beets with this easy-to-follow recipe and can them into shelf-stable jars using a water bath canner.
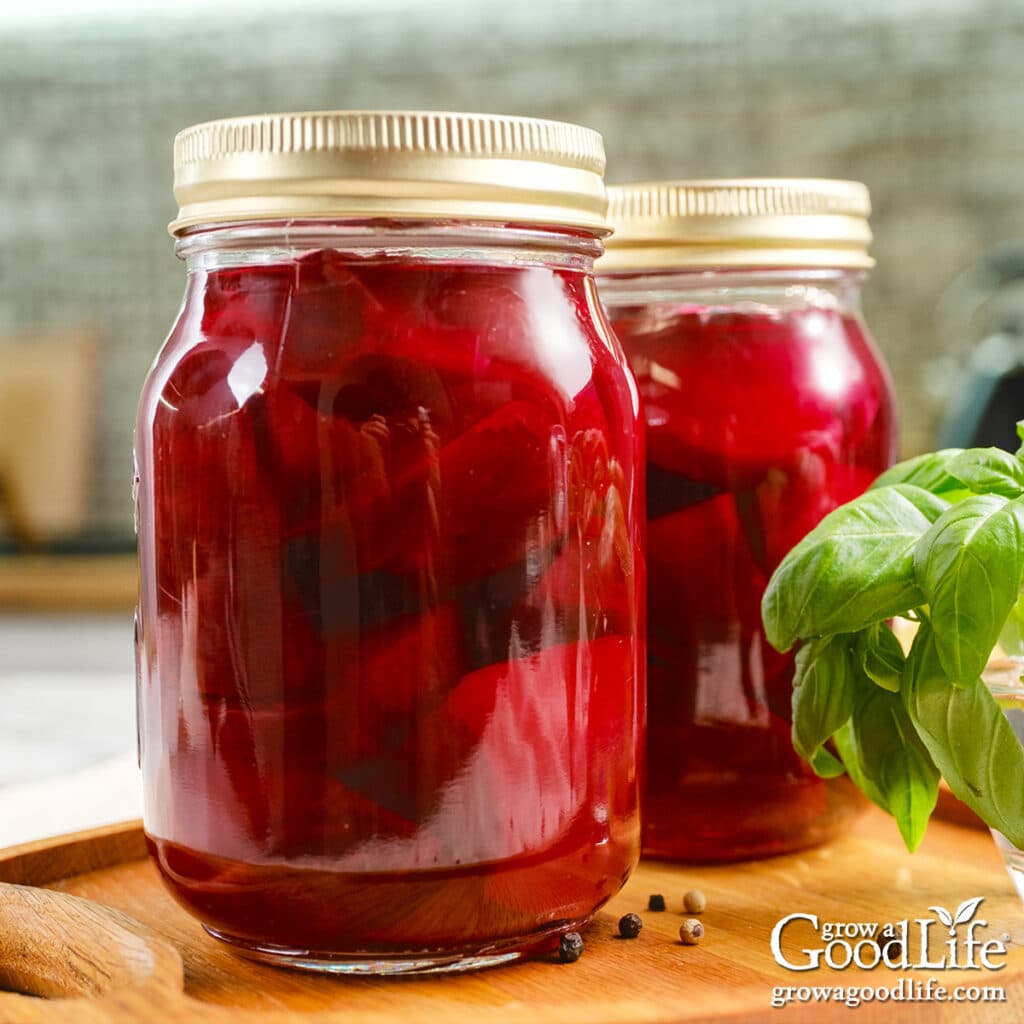
If you’re a fan of the earthy taste of beets, you will love pickled beets. These little bites of sweet and tangy goodness will add flavor and color to your meals.
Pickled beets are low in calories, a good source of fiber, and have a delicious sweet and sour flavor. The tart flavor of pickled beets can add a delightful zing to sandwiches, salads, and a side dish to any meal.
Tips for Making Pickled Beets
Harvest beets on a dry day in the morning while the ground is still cool. Use a digging fork to loosen the soil beneath the roots, grasp the base of the stem and lift upwards. Remove as much dirt as you can from the roots and greens by giving the beets a good rinse with a garden hose before bringing them inside. Here are other tips for canning beets:
About the Ingredients
Pickled beets are made by infusing beetroots in a sweetened vinegar brine flavored with pickling spices. The pickling process preserves the beets and gives them an earthy, sweet and sour flavor.
Beets
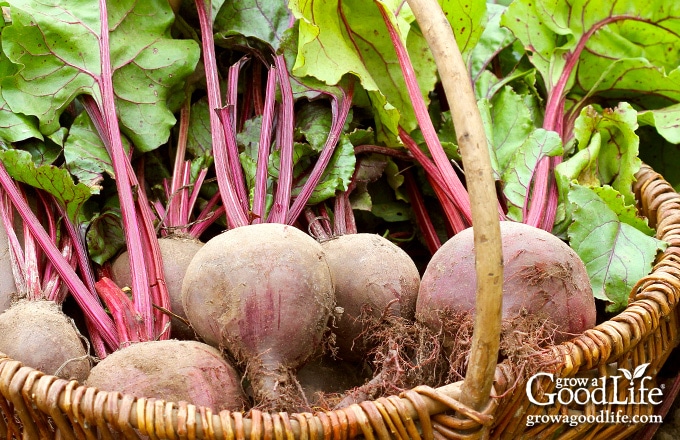
Most people think of beets as typical, large ruby-red roots at the grocery store. However, when you grow your own beets, you will discover they come in many colors, including deep red, reddish-purple, gold, light yellow, white, and red and white striped beets.
- Red beets are a deep reddish-purple and have an earthy flavor.
- Gold beets are yellow or gold and taste a little sweeter than red beets.
- White beets have a mild, sweet flavor and firm texture even when they grow large.
- Chioggia beets have red and white rings inside.
You can pickle any variety of beet. Just keep in mind that scarlet-colored beets will release their red liquid as they are processed. So prepare and can red, yellow, and white beets separately to maintain their color. Also, the pretty candy cane stripes of Chioggia beets will fade as the beets absorb the bright red liquid.
You’ll need about 6 pounds of beets to get 10 cups of sliced beets. Select firm small to medium-sized beets with a diameter of 2 1/2 inches or less for soft and tender pickled beets. Larger roots can also be used, but they tend to have a woody or rubbery texture when pickled.

Vinegar
Use commercial vinegar with at least 5% acidity. Both apple cider and white vinegar work very well in this recipe.
- Apple cider vinegar is made from fermented apples. It is amber in color and has a mild, fruity, tart flavor.
- White vinegar is clear vinegar made by distilling corn and rye. It tastes more tart and sour than apple cider vinegar.
Sugar
You can use white granulated sugar or brown sugar for a richer flavor. The sugar adds a sweetness that mellows the vinegar’s tartness but also helps preserve color and maintain the beets’ texture. Of course, you can reduce the amount of sugar, but your pickled beets will taste more sour and vinegary.
Flavor Variations
This recipe uses traditional pickling spices to infuse the brine with flavor, but you can use whatever dried spices you prefer. Check out this recipe for homemade pickling spice for more ideas. Other safe flavor alternatives include:
- Pickled Beets and Onions: Pickling beet and onions together makes a great condiment to top salads or layer on sandwiches, burgers, and wraps. Reduce the amount of prepared beets to 8 cups and add 3 cups of sliced onions. You can use any type of onion, including yellow, white, or red.
- Sweet Pickled Beets: The earthy beet flavor combines very well with this sweet pickling brine infused with savory spices. Substitute 10 whole cloves and 2 crushed cinnamon sticks for the pickling spice.
- Ginger Pickled Beets: This is my favorite way to pickle gold beets. Add about 5 thin slices of fresh ginger to the pickling spice bag.
Prevent Beet Juice from Staining
The red beets will ooze scarlet liquid when peeled and cut. Use gloves to prevent staining your hands, wear old clothing, and use towels that you won’t mind staining. Wipe up any red liquid quickly from surfaces to avoid a stain from setting.
Don’t Toss the Greens!
You can eat the beet greens, so refrigerate them and use them up over the next several days. Beet greens are delicious in salads, soups, smoothies, and pesto. Try this Sautéed Beet Greens Recipe.
How to Can Without a Water Bath Canner
This pickled beets recipe is preserved into shelf-stable jars by heat processing the jars in a boiling water bath canner. The heat kills organisms, drives oxygen out of the jar, and seals the lids making the jars shelf-stable.
You can use a large saucepan to boil the jars if you don’t have a canning pot. Your pot will need to be tall enough to cover the jars elevated on a rack with two inches of water, plus additional space to prevent hot water from splashing out of the pot.
Place a rack in the bottom to elevate the jars away from direct heat and allow the water to circulate as they are processed. You can use a round cooling rack or make a rack out of canning rings. The jars must remain upright and submerged entirely under water during processing.
Allow Time to Develop Flavor
You may be tempted to open a jar of pickled beets right after canning, but if you let the pickles sit for several weeks, the flavor will have time to develop. Over time, the flavorful brine will mellow and infuse into beets.
Steps for Canning Pickled Beets
This recipe is from the Ball Complete Book of Home Preserving. Before you begin, reviewing this article on water bath canning at the National Center for Home Food Preservation website may be helpful: Using Water Bath Canners.
The full recipe is below, but here is a step-by-step overview of how to make and can pickled beets.
Step 1: Gather your Kitchen and Canning Equipment
- Water bath canner and canning rack
- 6 pint sized canning jars, or 12 half-pint canning jars
- Canning lids and ring bands (new lids for each jar, bands can be reused)
- Canning tools: jar lifter, canning ladle, funnel, and bubble popper
- Rubber gloves to avoid staining your hands
- Spice bag, cheesecloth, or coffee filter
- Plus basic kitchen supplies such as a vegetable brush, large stainless steel pot, colander, large prep bowl, knife, cutting board, tongs, and clean kitchen towels that you don’t mind getting stained.
Wash the jars, lids, bands, and canning tools in warm, soapy water. Rinse well, and set the lids, bands, and tools aside to air dry until you are ready to use them.
Setup your water bath canner with the canning rack on a large burner of your stove. Place the jars upright in the canner, and add water to cover. Bring the canner to a simmer (180˚F) for 10 minutes, and keep the jars hot until you are ready to fill them.
Step 2: Prepare the Beets
Scrub the beets with a vegetable brush and rinse well under running water. Trim off the beet tops, leaving an inch of stem, and leave the roots intact to help prevent the color from bleeding out of the beets. Save the greens for other recipes.
Place the beets in a large pot, fill with water, and bring to a boil over medium-high heat. Cook the beets until tender and the skin slips off easily, about 20 to 30 minutes. To test, poke with a sharp knife, the skin should be soft, and the blade should pierce the roots easily.
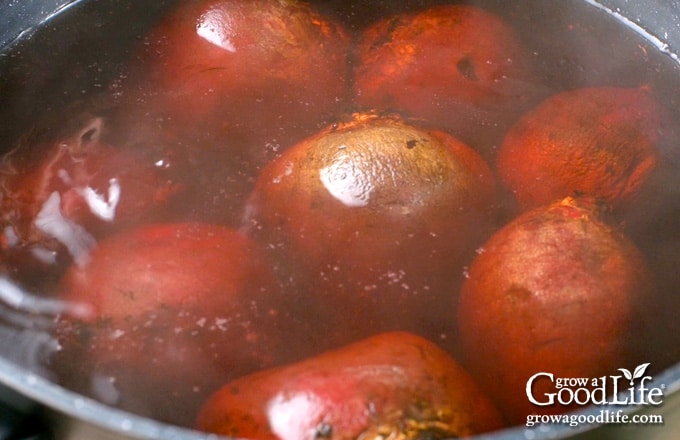

Drain the beets in a colander discarding the beet cooking water. Let them cool until you can handle them without burning your hands. While the beets are cooling, rinse the large pot and simmer the pickling brine.
Step 3: Make the Pickled Beets
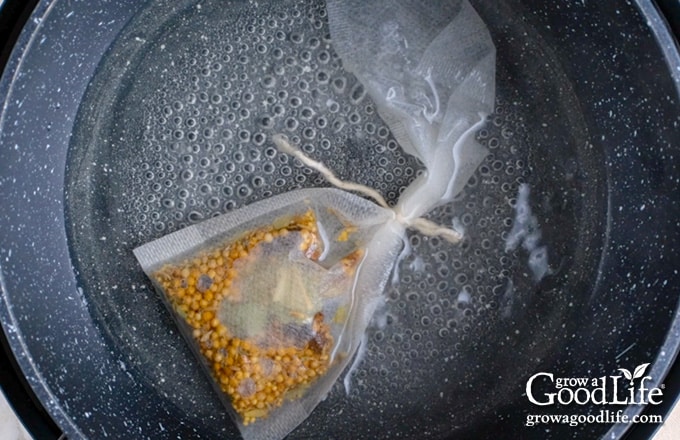
Add the pickling spices to a spice bag, cheesecloth, or coffee filter and tie with kitchen string.
Combine the vinegar, water, sugar, salt, and the pickling spice bag in a large pot. Bring the mixture to a boil over medium-high heat while stirring to dissolve the sugar. Reduce the heat, and simmer (180˚F) for 15 minutes.

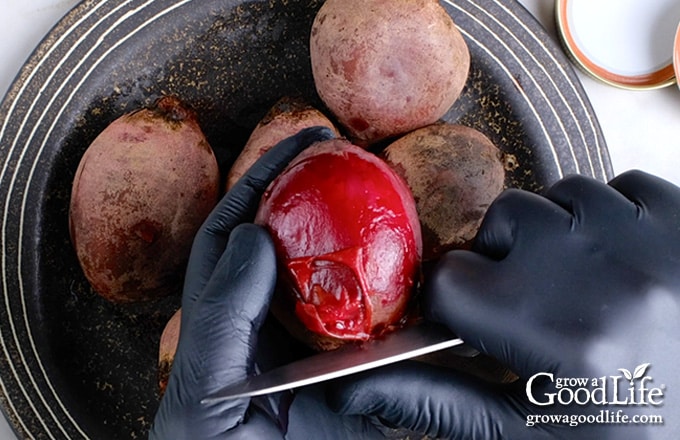
Peel and cut the beets while the pickling brine is simmering. Slip on gloves to prevent beet juice from staining your hands. Use a paring knife or vegetable peeler to trim the stems and roots and remove the skins. Leave small beets whole, quarter larger beets, or cut the roots into 1/4-inch slices. Measure 10 cups of prepared beets.

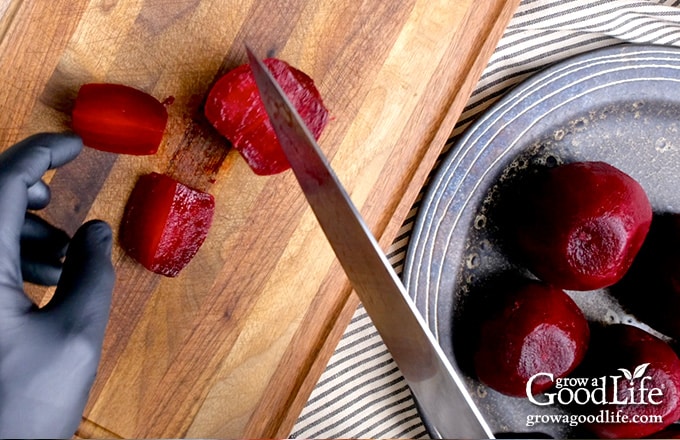

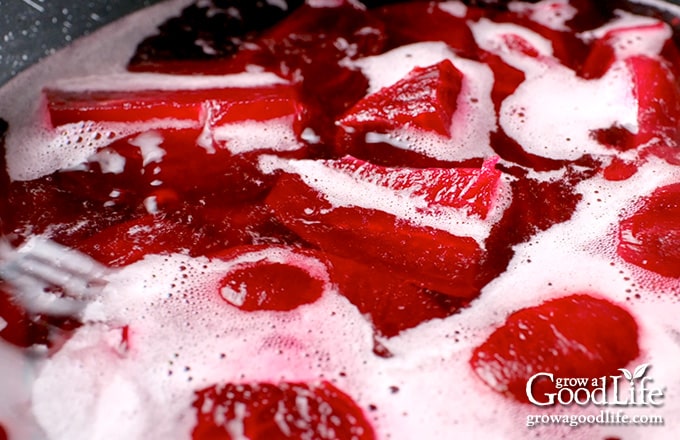
Fish out and discard the spice bag. Add the prepared beets to the pickling liquid and return to a boil over medium-high heat. Once the mixture boils, keep it hot as you fill your jars.

Step 4: Fill and Process the Jars
Lay a kitchen towel on the counter. Use the jar lifter to remove a hot jar from the canner, drain it, and place it on the towel. Keep the remaining jars in the canner so they stay warm.
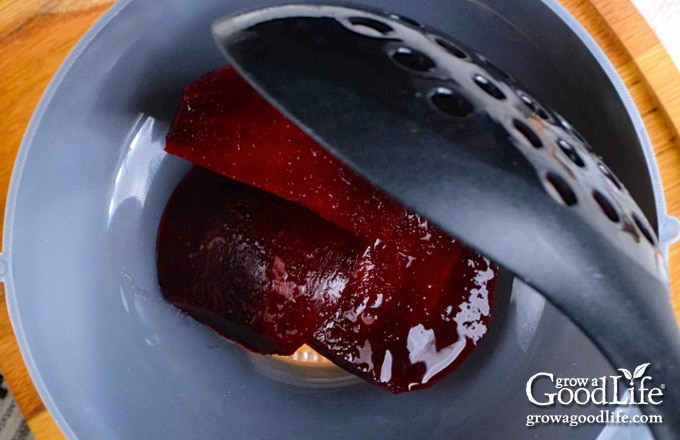
Place the canning funnel on the jar. Use a slotted spoon or tongs to remove the beets from the brine and fill the jar. Leave 1/2-inch headspace at the top of the jar.

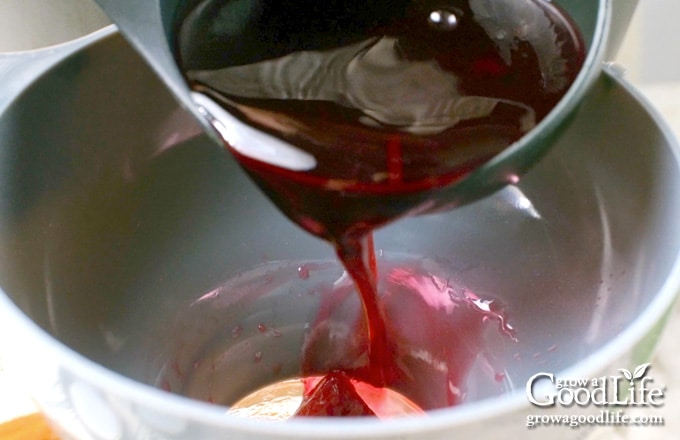
Use the canning ladle to fill the jar with hot brine while maintaining a 1/2-inch headspace.

Run the bubble popper through to the bottom of the jar to release any trapped pockets of air. Make sure all the beets are submerged in the liquid and adjust the headspace if needed.
Wipe the rim with a clean damp paper towel or towel soaked in straight vinegar to remove any sticky residue. Center a lid on the jar, place the band over the cover, and screw it on until fingertip tight. Place the jar back into the canner, and repeat with the rest of the jars.
Once the filled jars are in the canner, adjust the water level so it is 2-inches over the tops of the jars. Bring the pot to a boil and process for the times indicated in the recipe below.
When the processing time is complete, turn off the heat and remove the cover. Let the canner settle for 5 minutes, then remove the jars, and let them cool completely for 12 to 24 hours.
Test the seals, remove the rings, and wash the jars. Date, label, and store the jars in a cool location. Wait about 4 weeks before opening to allow the flavor to develop and infuse. Makes about 6 pints or 12 half-pints.
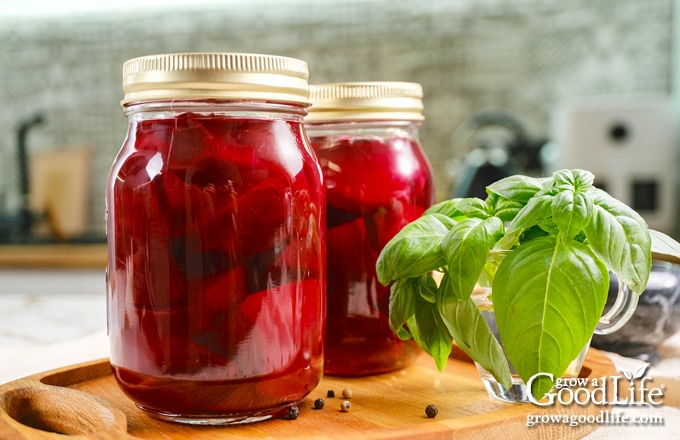

Canning Pickled Beets
Pickling beets is a delicious way to preserve your harvest. Learn how to make pickled beets and preserve them into shelf-stable jars using a water bath canner.
Prepare the Canning Equipment
-
Wash the canning jars, lids, screw bands, and tools in hot soapy water. Rinse thoroughly to remove all suds. Set aside to air dry on a clean kitchen towel.
-
Place the jar rack into the water bath canner, place the jars in the canner, and add water to cover. Bring the canner to a simmer (180˚F) for 10 minutes, and keep the jars hot.
Prepare the Beets
-
Scrub the beets and rinse well under running water. Trim off the greens leaving about one inch of stem to help prevent bleeding.
-
Add the beetroots to a large pot of water, bring to a boil, and cook until the skins slip off easily, about 20 to 30 minutes.
-
Drain the beets in a colander discarding the cooking water. Let the beets cool until you can handle them without burning your hands.
-
While the beets are cooling, rinse out the large pot and make the pickling brine.
Make the Pickled Beets
-
To make the pickling brine, combine vinegar, water, sugar, and salt in a large pot.
-
Place the pickling spices in a spice bag, cheesecloth, or coffee filter, tie it off, and add it to the vinegar mixture.
-
Bring to a boil over medium-high heat. Reduce the heat to low, and simmer (180˚F) for 15 minutes. Prepare the beets while the brine is simmering.
-
Once the beets are cool enough to handle, put on the gloves, remove the skins, and trim off the stems and roots.
-
Leave baby beets whole, quarter larger beets, or cut the roots into 1/4-inch slices. Measure 10 cups of prepared beets.
-
Remove the spice bag, add the prepared beets to the pickling liquid, and return to a boil over medium-high heat.
Can the Pickled Beets
-
Spread a kitchen towel on the counter. Use your jar lifter to remove a warm jar from the canner. Empty the water and place it on the towel. Keep the remaining jars in the canner so they stay warm.
-
Place the canning funnel on the jar. Use a slotted spoon or tongs to remove the beets from the brine and fill the jar. Leave 1/2-inch headspace at the top of the jar.
-
Run the bubble popper through the jars to release air bubbles and wipe the rims. Adjust the headspace again if needed.
-
Center a lid on the jar, and screw on the band until it is fingertip tight. Use the jar lifter to place the jar back into the canner and repeat with the remaining jars.
-
Once all the jars are in the canner, adjust the water level so it is 2 inches above the tops of the jars.
-
Cover the canner and bring to boil over high heat. Once the water boils vigorously, continue boiling and process half-pints and pints for 30 minutes at altitudes less than 1,000 feet. Adjust processing time for your altitude if necessary (See Note).
-
When the processing time is complete, turn off the heat, remove the cover, and allow the canner to cool down and settle for about 5 minutes.
-
Spread a dry kitchen towel on the counter. Use the jar lifter to remove the jars from the canner and place them on the towel. Keep the jars upright, and don’t tighten bands or check the seals yet. Let the jars sit undisturbed for 12 to 24 hours to cool.
-
After 12 to 24 hours, check to be sure jar lids have sealed by pushing on the center of the cover. The top should not pop up. If the lid flexes up and down, it did not seal. Refrigerate the jar and use it up within a week.
-
Remove the screw-on bands, rinse the jars, label, date, and store in a cool, dark location. Allow 4 weeks for the pickled beets to develop flavor. Use home canned jars within 12 to 18 months for the best quality. Makes about 6 pints or 12 half-pint jars.
All times are at altitudes of less than 1,000 ft. Adjustments must be made for altitudes greater than 1,000 ft. For altitudes of 1,001–3,000 feet = 35 minutes, 3,001–6,000 feet = 40 minutes, and 6,001 feet and above = 45 minutes.
Serving: 0.5cup | Calories: 30kcal
Pickling beets is a great way to preserve an abundant harvest from your vegetable garden. With this recipe and canning tutorial, you can easily learn how to pickle beets and enjoy them all year long.
Grow a Good Life Guide to 40+ Meals in a Jar Pressure Canning Recipes
In this eBook, you will find 50 pressure canning recipes, including 44 meals, along with homemade stocks and bone broths. Recipes include soups, stews, chilis, beans, beef, pork, and poultry. Explore the world of preserving delicious home-cooked meals for all seasons.
