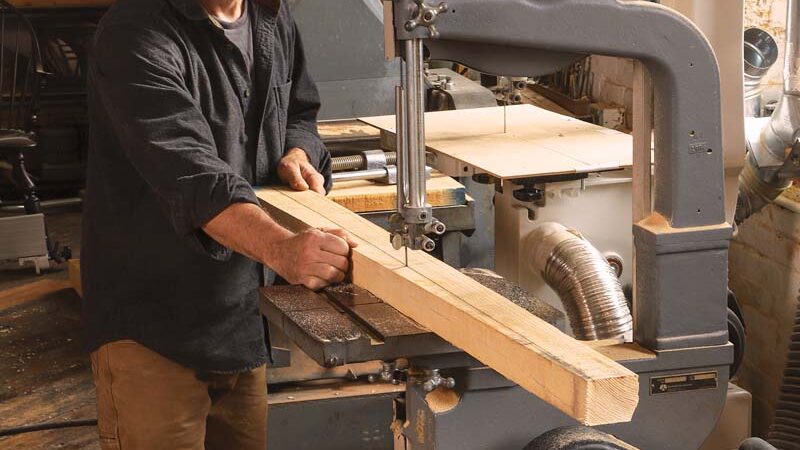
When I began working with wood split from logs it was a revelation. Not only for the reasons I first expected—I knew I would enjoy working the soft green wood, but I didn’t appreciate what changes would arise as a result of splitting the wood. Riven parts are a different animal altogether than sawn parts and can be worked very differently. In recent years, I’ve used techniques that allow me to make riven parts from sawn and dried planks while enjoying most of the same benefits of parts split from green logs. It has changed the way that I look at boards and empowered me with a deeper understanding of how to work with wood regardless of how it came into my shop. I’m continually finding new benefits from this, regardless of what I am building.
When you split a log, the cleavage follows the growth of the tree and ensures that the long fibers stay intact. This harnesses the tree’s strength, making slim parts stronger and more flexible. Freshly cut wood is also soft, which is an obvious benefit to hand-tool use, but another major advantage of riving, one I didn’t anticipate, is how it makes parts identical in grain pattern, each having long fibers running the entire length. Clean cuts are always to be found cutting from thick to thin.
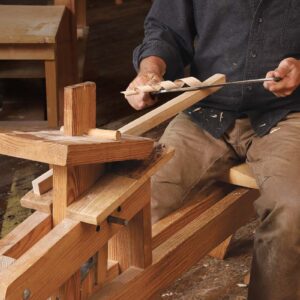
No more trying to find the “safe” direction to cut without tearing out. This adds substantial speed to the use of hand tools and is especially beneficial when turning parts. Orienting turnings so that the fibers follow the axis of the turning prevents tearout. Another advantage of not having grain runout is that joints can be made stronger and more easily, plus parts can be bent with a higher rate of success and to tighter radii. Finally, riving creates predictable surface patterns that can be used to harmonize the grain pattern with the shaping and design.
In recent years, I’ve often had trouble sourcing good green wood; and many of my students come from regions where suitable logs are not readily available. This sent me down a rabbit hole exploring air-dried and kiln-dried boards to see if I could split them and get the same benefits I get with wood riven from green logs. The good news from the rabbit hole was that it was not just possible to split dried wood along the fibers, but convenient and sometimes preferable to starting from a log. Most of my work in this has been with white ash and red oak, hickory, walnut, and maple. I’ll show how to get riven parts from boards, but first I want to highlight the differences between sawn and split parts.
Starting from the log
In a green log, because the lignin in the wood hasn’t hardened through drying and the wood remains very flexible, the splitting action easily follows the path of the fibers regardless of how curved, twisted, or tapered the tree. Each part split out this way will have exposed end grain only on its actual ends. Because they have no grain runout, split parts can be worked cleanly in any direction, and bending and turning them results in stronger, more reliable parts.
When planks are sawn from a log, the saw ignores the path of the fibers, simply cutting straight through the log. The saw cuts across fibers, exposing end grain all over the board; this is why, when you joint, plane, turn, or shape wood from a plank, your direction of cut needs to be determined and often changed depending on the side being cut.
Twist is a hidden culprit |
Bridging the gap between logs and boards
Parts riven from green logs clearly have advantages, but suitable green logs can be tough to find, move and store, and then there’s the physicality of splitting them. Other drawbacks can be the shrinking during drying and the long time needed to dry green parts.
I began to think that using dried planks as my source material could ease or eradicate some of these issues. They’re easy to source or import, store indefinitely, retain their shape after bending, and can be used after steam bending without extended drying times.
But learning to get riven wood from a board took lots of head scratching, busted up boards, and three-dimensional thinking. Looking at a sawn board can give lots of information. The way that the growth rings cut across the surface tells how the tree grew and how the saw sliced through it. The growth rings are very predictable and readable on the sawn surface because we know that each year the tree adds a new sleeve of material around the existing tree, like nesting dolls. But there is also lots of misleading information. For instance, on the face of a flatsawn board that has cathedrals at the center flanked by straight grain lines, the straight lines on the two sides are easily mistaken for following the fibers more than the cathedrals in the middle. They do look straighter, but this is only because you are seeing those growth rings edge-on, while the cathedrals depict the belly of the growth rings’ curve. Yes, growth rings are one clue when selecting a board for getting riven parts, but there is another factor that is much harder to see.
The twisted truth about boards
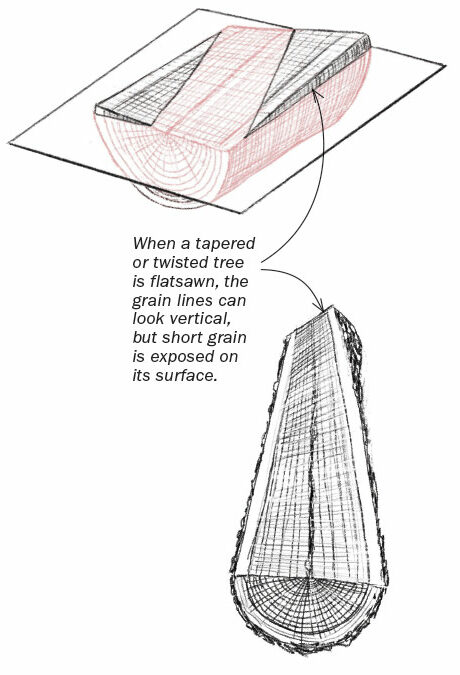
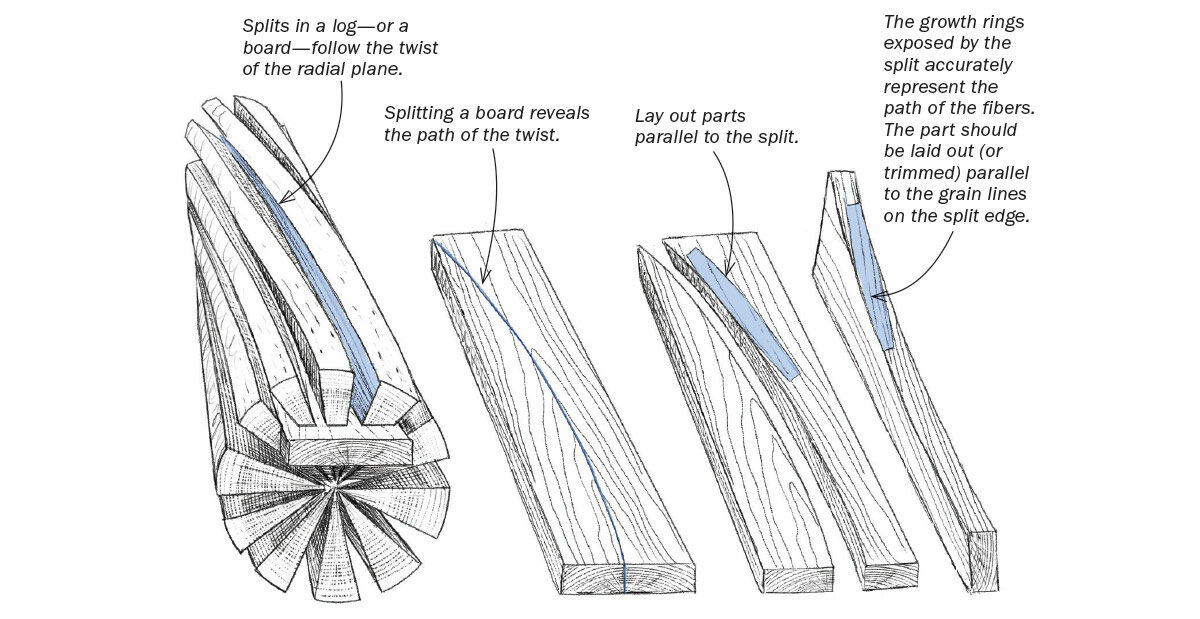
Have you ever been planing a board with obvious growth rings that should plane well in one direction only to find it tearing out on one side of the surface? The reason is twist. The tree grew to some degree like a corkscrew, and when the saw cut a flat plane through it, the growth rings were revealed as expected, but each ring is made up of fibers that wrap around the core of the tree like a paper towel tube. This means that the fibers on each side of the board can ascend in opposite directions. Depending on the species, this twist can be imperceptible until you begin working the wood. I can say from having split hundreds of logs that twist is present to some degree in nearly every one.
This turned out to be both the problem and solution to getting riven parts from a board. You might imagine that you could just look at the edge of a board and get all the information that you need about the direction of the fibers, but all this shows is how the saw interacted with the growth rings; and depending on the shape and position of the tree to the saw, it can be very misleading. The only information that I gather from the boards is from the growth rings visible on the face. This gives me half the equation. On split parts, growth rings only appear as stripes that run the entire length of the part, which is different than sawn parts, where the growth rings often appear cutting across the surface. But the length of the “cathedrals” on the face of a flatsawn board tells a great deal about how aligned the sawcut was with growth rings.
But what about the twist? When split from a log, the parts just follow the twist naturally, but when sawn, the twisted fibers become entombed in a shape that gives no clues as to their path or severity. I had to find a way to reveal it. Though it seems obvious now, the solution was strange enough that it took some time to realize it would solve the problem.
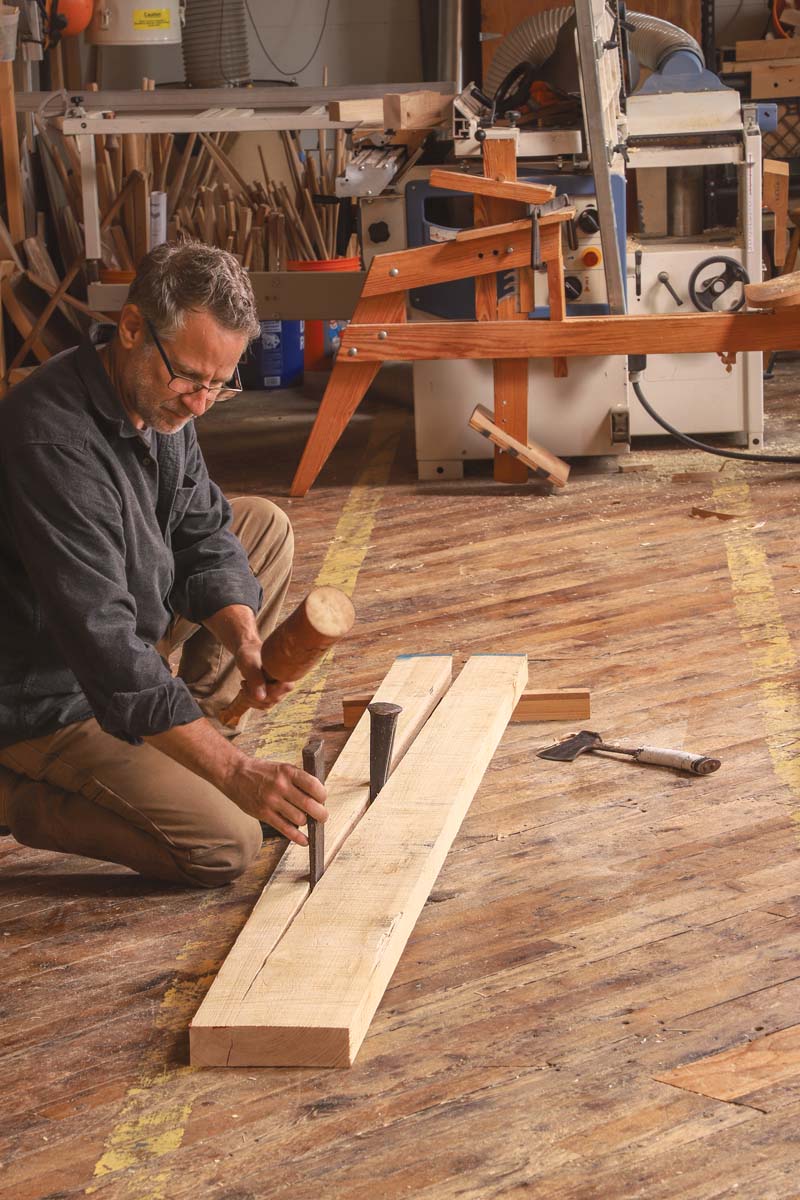
First, I split the board down the middle or shave the edge of the board to follow the fibers. Splitting works well on woods such as oak, ash, hickory, and maple; shaving works best with woods like walnut and cherry that don’t split well. The split might run straight down the middle, but it usually runs out to one side or the other to some degree. Rarely will the split be perfectly in line with the sawn edges; this is revealing the effect of the twist, while also eliminating it.
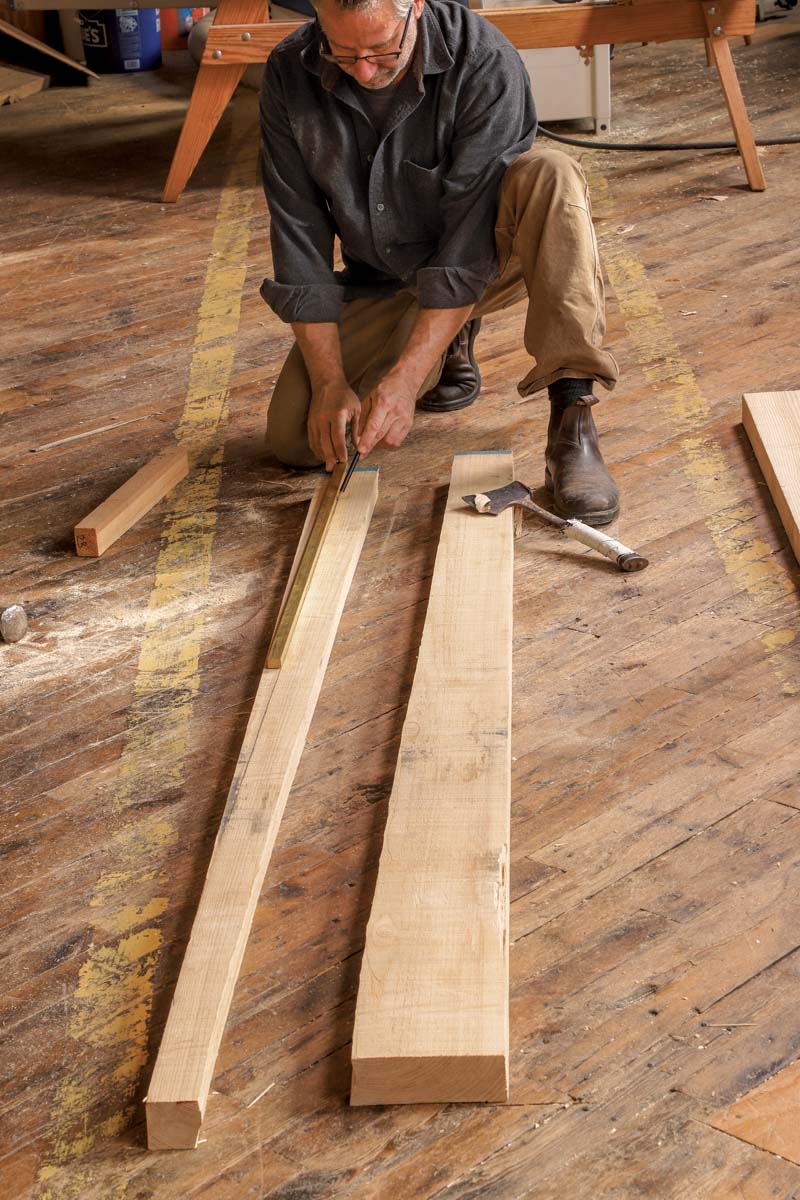
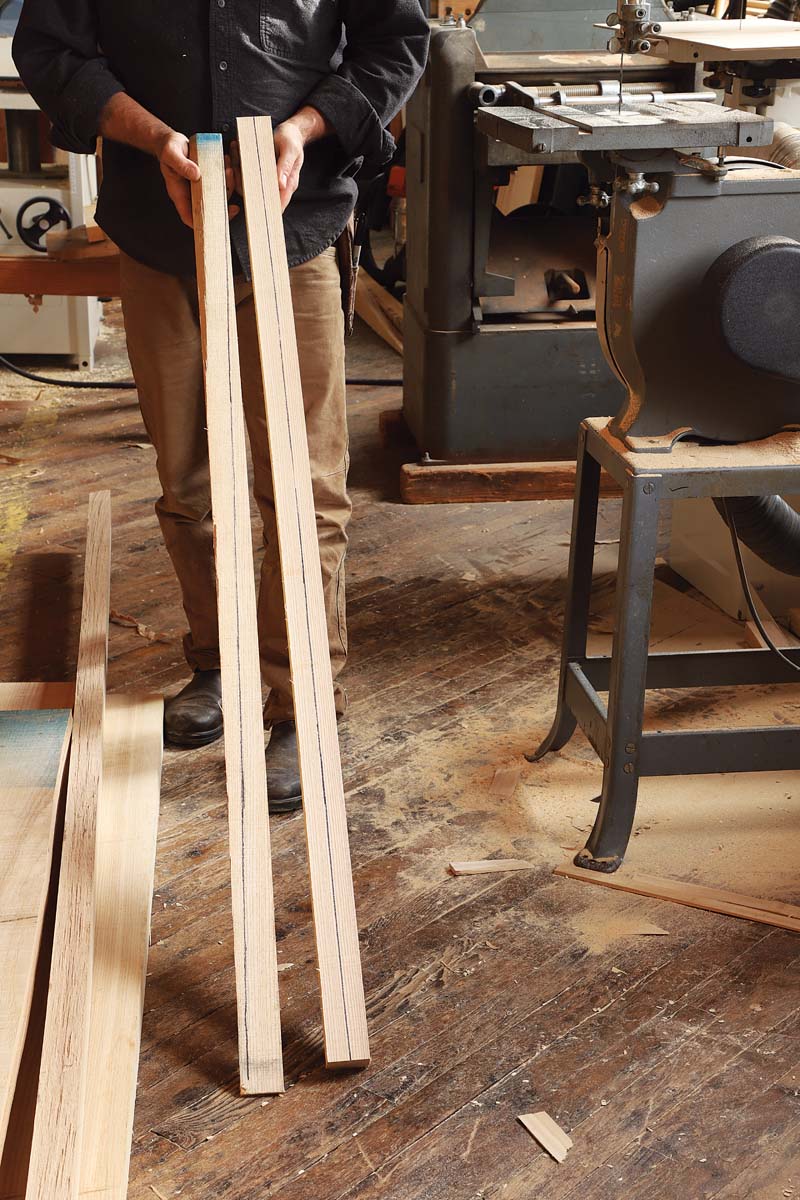
Then I use the newly split or shaved edge as the reference surface to cut out the parts that I need. The added benefit of finding the fibers this way is that I can turn the parts on their side and cut along the newly revealed growth rings to finish the riving process. Unlike on sawn edges, where following the fibers can be very misleading, doing the same on either split or shaved edges provides an accurate view of the growth rings.
Finding Long-Fiber Parts In Kiln-Dried Planks
Wedges find the fibers
|
Selecting boards suitable for riving
I buy flatsawn boards that are thicker than I will need for my final parts to help absorb any misalignment with the growth rings. The extent of this misalignment can be estimated by the number of growth rings visible on the surface of a flatsawn board. You might think quartersawn wood would be a perfect choice for getting riven parts; after all, you can see the layering of the growth rings clearly. But after further exploration I realized that the twist would cut across the thickness of the quartered board and unless you found a very thick quartered board that would still allow you to follow the twist on the edge, or found a board with zero twist, you would likely find it tough to get good results.
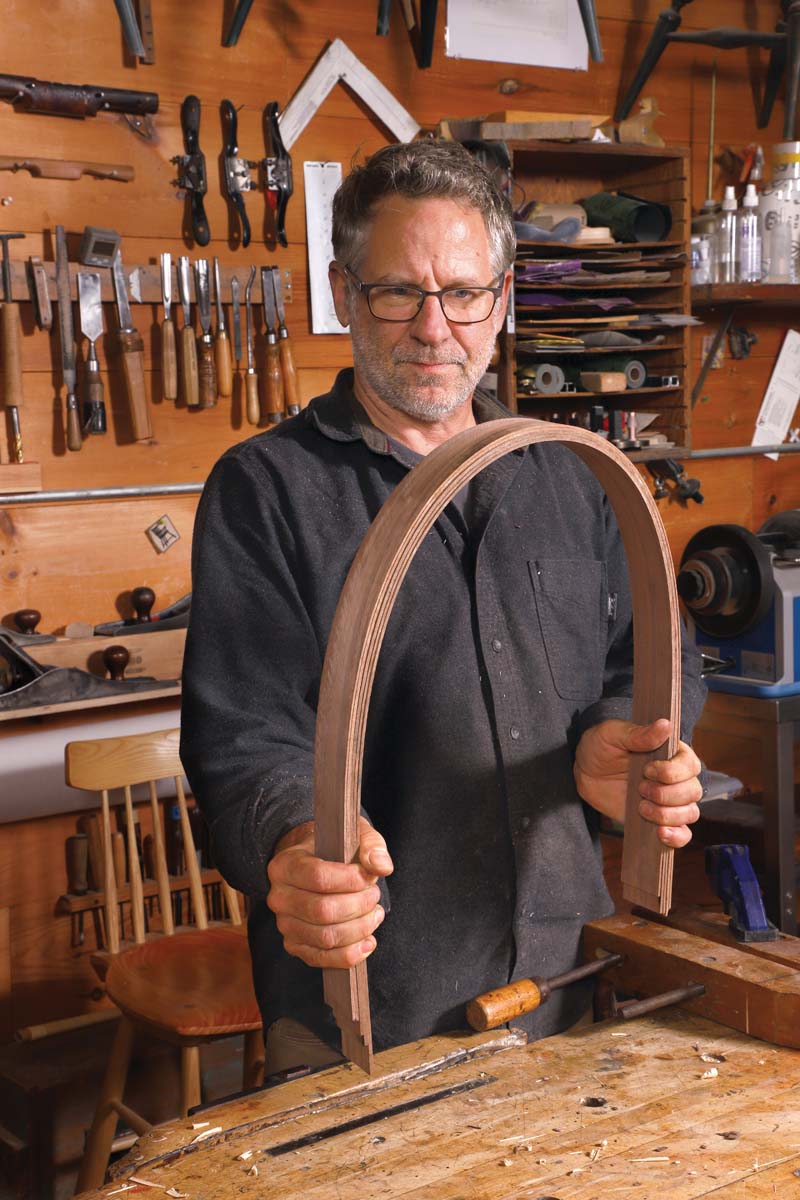
The flatsawn boards should have a straight centered growth pattern and large growth rings (faster growth is stronger in ring-porous hardwoods). You can expect that at least one end will be tough to get long riven parts from because of the way the tree swells at the bottom and the saw cuts across the rings; this isn’t a deal breaker, but I try to focus on the upper portion for my longer pieces.
If I am going to use a drawknife to finish the shaping, I soak the rough riven parts in water for a couple of weeks. This softens the surface fibers and allows me to follow them closely. With ash, soaked parts shave just like the wood was green. Pre-soaking can also be helpful when steam-bending smaller parts, which, with their high ratio of surface area to mass, can absorb moisture nearly to their core. After soaking, I usually steam these for two hours.
Often, I bend parts in board form, after eliminating the twist. Depending on the bend, I try to follow the growth rings to ensure success bending. These larger parts won’t absorb moisture deeply enough to make pre-soaking profitable, so I skip the soaking before bending. I usually steam them for 2-1⁄2 to 3 hours.
One of the great benefits of riving is the increased strength and flexibility that you can achieve. Obviously this is necessary with chairs, which need to withstand the force of sitting, but it is also useful when making other thin parts that benefit from limiting runout, such as table legs, door and window mullions, and strips for bent laminations.
Riven parts can make milling or hand-cutting joinery easier. Chopping a mortise in a part that follows the fibers usually ensures that the sides of the mortise pare easily and cleanly because the exposed end grain is limited to the ends of the mortise. Likewise, tenons with no fiber runout are stronger and easier to shave.
Along with strength and workability, riven wood offers aesthetic benefits. When making unpainted pieces, I want the growth rings visible on the surface to harmonize with the design. Growth rings cutting randomly across the surface of parts can look busy and be distracting. Using riven wood for parts tones down the “action” on the surface, giving the overall form of the piece a more prominent visual role.
My education working with wood has been circuitous: starting with sticks, moving to boards, then to plywood, then to logs, and now back to boards. Early on, I wanted to use hand tools as much as possible, but when I was working with sheet goods at a production pace, it seemed inefficient and frankly a bit indulgent. But things have changed. Each starting point has informed how I see and work with the material. Now, I can understand and harness the strength and malleability of wood, using the tools I want, leaving me excited and empowered to get to work.
-Peter Galbert builds chairs and teaches woodworking in Rollinsford, N.H.
A Woodworker’s Guide to Grain Direction
How to rift-cut stock to follow the grain
Spokeshave Fundamentals
Sign up for eletters today and get the latest techniques and how-to from Fine Woodworking, plus special offers.
Download FREE PDF
when you enter your email address below.
View PDF

